GED Online Proctored Exam: How to Test from Home
Taking the GED online proctored exam means you can skip the testing center and finish your credential from your kitchen table, but only if you follow the rules exactly. Miss one requirement, like a shaky internet connection or a cluttered desk, and you risk getting flagged mid-test or locked out entirely. That’s the last thing you need after weeks of studying.
This guide walks you through exactly what the online proctoring process demands: the equipment checks, the room setup, the ID verification, and what the proctor watches for while you work. You’ll know precisely what to expect before you ever log in, so test day feels routine instead of stressful.
We’ll cover system and room requirements, how scheduling and check-in actually work, common reasons candidates get interrupted or fail verification, and what to do if something goes wrong during the exam. Once you understand the logistics, the real work is knowing the content cold. That’s where focused practice with detailed answer explanations, like GED practice tests covering all four subjects, makes the difference between passing and retesting.
What is the GED online proctored exam?
The GED online proctored exam is the same test you’d take at a Pearson VUE testing center, delivered through your own computer and monitored in real time by a live human proctor over webcam. GED Testing Service partners with Pearson VUE’s OnVUE platform to run this remote version, so the questions, scoring scale, and pass threshold (145 per subject) never change. What changes is the environment: you sit at home, share your screen and room view with a proctor, and follow strict rules about what’s visible around you.
The test content stays identical to the testing center version; only the delivery method and the rules around your physical space change.
Why states offer it
States began offering online GED testing to remove barriers like transportation, childcare, and testing center availability, especially for adults juggling jobs and family obligations, and the rules for how to pass the GED test online are worth reviewing before you commit. It also gives candidates flexibility in scheduling, since online sessions often open earlier and later in the day than a physical center’s hours.
How proctoring actually works
A live proctor watches your webcam feed for the entire exam, checks your ID against your face, and can pause or end your session if they spot a phone, a second monitor, or another person in the room. This isn’t recorded software reviewing footage later; it’s a real person monitoring you as you type. That distinction matters because it means real-time interruptions, like a proctor asking you to pan your webcam around the room again, are normal and not cause for panic.
Step 1. Confirm your eligibility and state availability
Before you schedule anything, check that your state allows online GED testing, since not every state has adopted OnVUE for every subject. Some states restrict online testing to specific subjects, like Math or Science, while requiring the rest at a physical center. Visit your state’s GED page through GED.com to confirm which subjects qualify and whether you need prior approval.
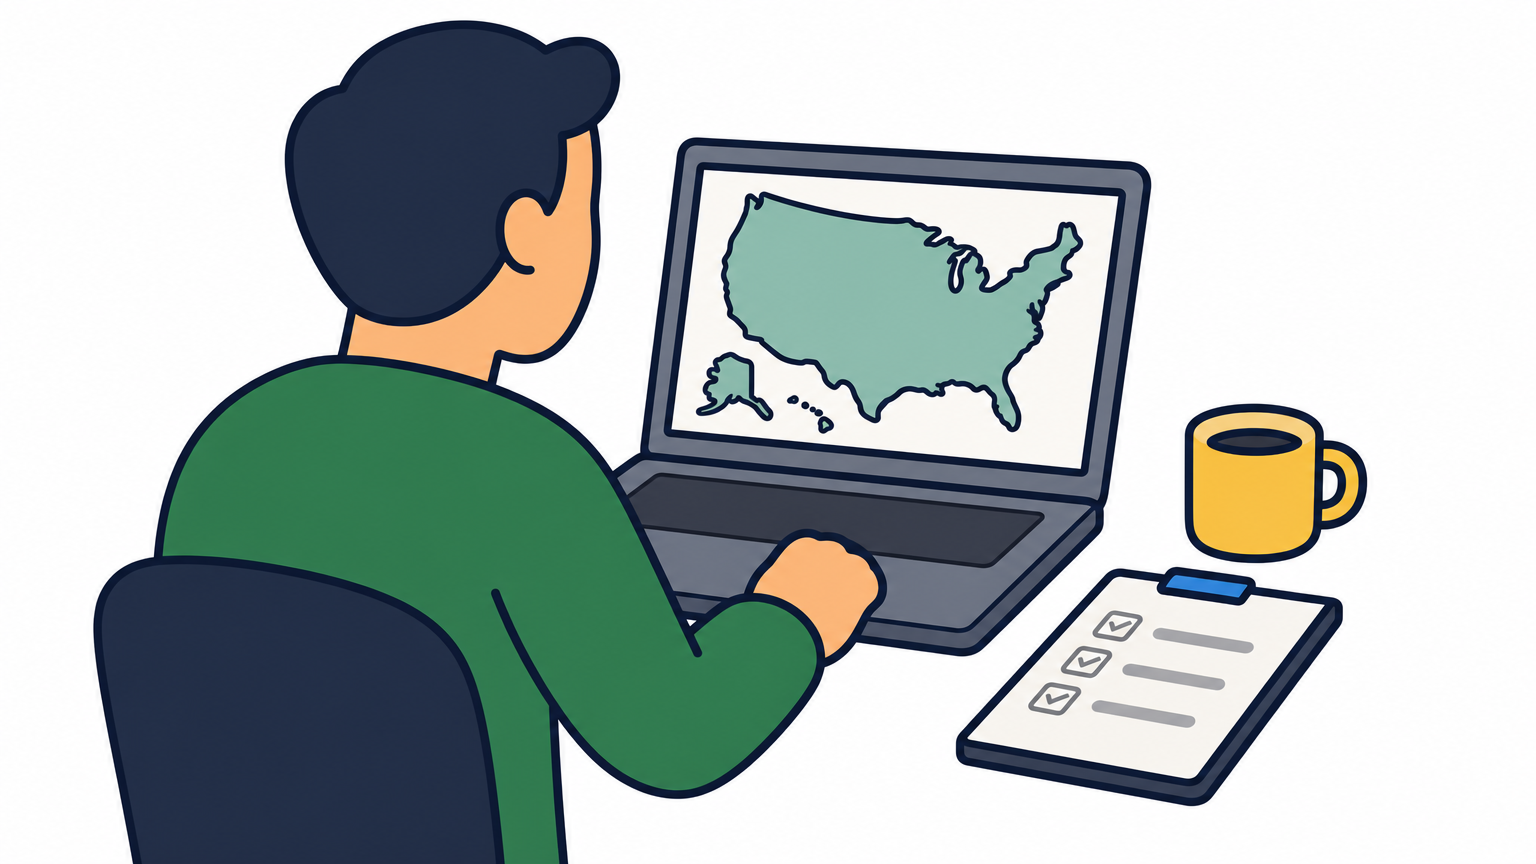
Confirming state eligibility first saves you from scheduling a test you can’t actually take from home.
Check your state’s specific rules
Requirements vary more than most candidates expect. Look for these details on your state’s page:
- Which subjects are approved for online testing
- Age restrictions (most states require you to be 16 or older with additional consent for minors)
- Whether you need a state-issued ID or if other identification works
- Any residency requirements tied to your testing state
Once you’ve verified eligibility, you’re clear to create or log into your GED.com account and move toward scheduling. Skipping this step is the fastest way to waste a testing fee on a session you’re not eligible to take.
Step 2. Score green on the GED Ready practice test
Before GED Testing Service lets you sit for the online proctored exam, most states require a "green" (likely to pass) score on the corresponding GED Ready practice test. This isn’t optional paperwork; it’s a gatekeeping step built to reduce failed attempts and protect the integrity of remote testing. A yellow or red score often blocks online scheduling entirely, pushing you back to a physical testing center instead.
A green GED Ready score isn’t just a formality, it’s your ticket to test from home instead of driving to a center.
Build your score with targeted practice
Don’t guess which topics need work — a free GED study guide online can map out where your time should go. Focus your remaining study time by:
- Reviewing detailed rationales for every wrong answer, not just the correct one
- Running full-length, timed sections to match real exam pacing
- Retaking weak subjects until you consistently land green
PrepNovat’s GED prep course gives you that structured practice, so you walk into GED Ready confident instead of hopeful.
Step 3. Run a system check for your computer and webcam
Run OnVUE’s system test on the exact computer and network you’ll use on test day, not a different device that happens to work fine. This checks your webcam, microphone, internet speed, and browser compatibility before you’re locked into a scheduled slot. Skipping this step is how candidates discover a broken webcam five minutes before check-in.
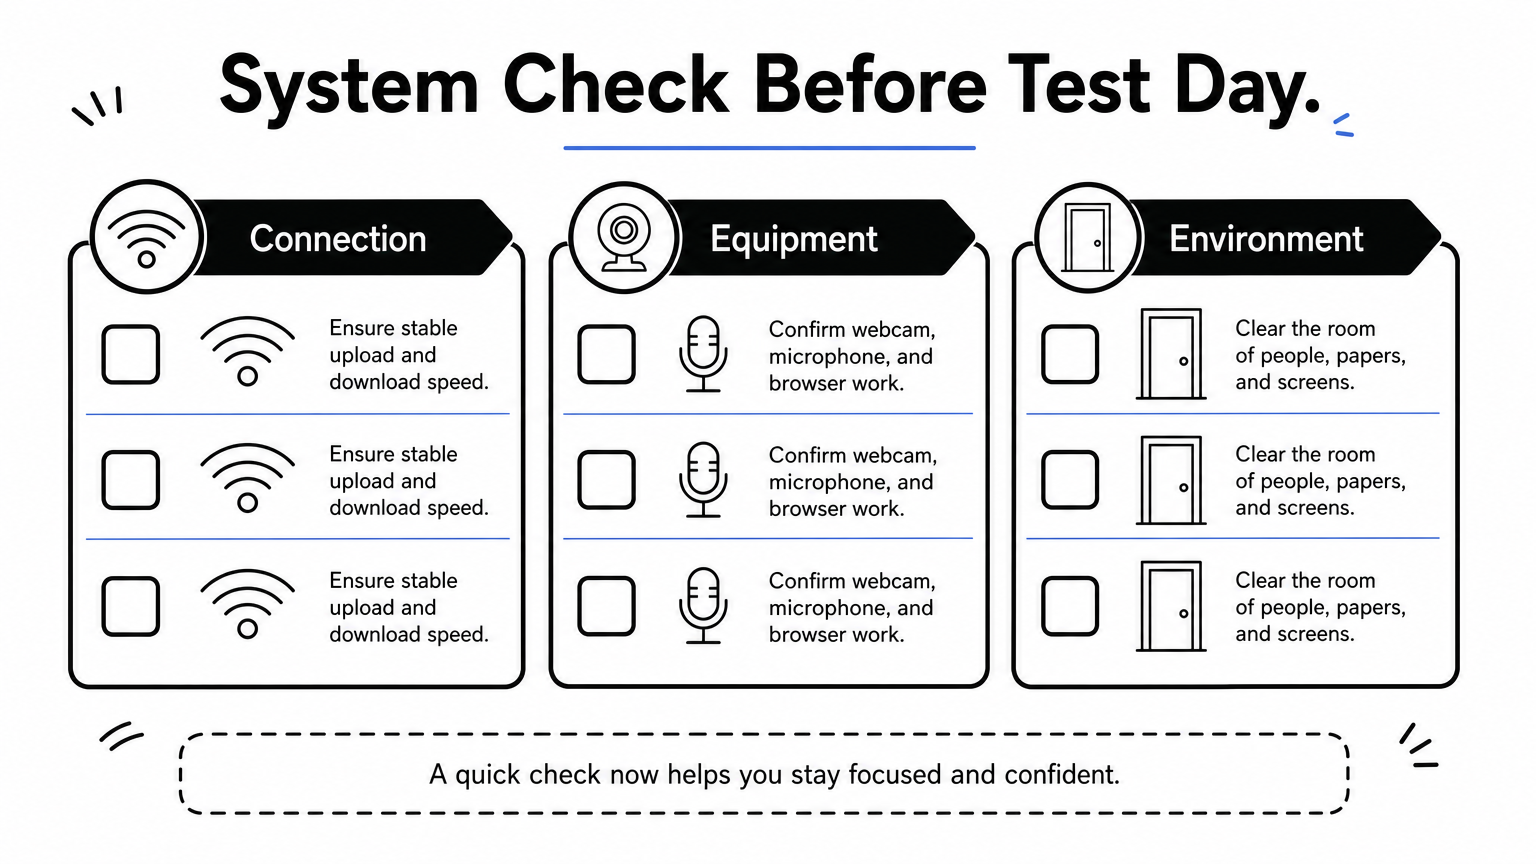
Test your actual exam setup days in advance, not the morning of your appointment.
What the check verifies
- Minimum internet speed (typically 0.5 Mbps upload/download)
- Working webcam that rotates to show your full workspace
- A functioning microphone for proctor communication
- Supported browser with cookies and pop-ups enabled
- A closed-door room free of other people, papers, and second monitors
Fix problems before scheduling
If the check flags issues, address them immediately: switch to ethernet instead of Wi-Fi, close background apps eating bandwidth, or borrow a laptop with a built-in camera. A failed system check the night before your exam leaves no time to troubleshoot, so run it early enough to adjust your equipment or reschedule if needed.
Step 4. Schedule, verify your ID, and check in for test day
Once your system check passes, log into GED.com and pick an available test slot, choosing a time when your home is guaranteed quiet for the full exam window. Bring a valid, government-issued photo ID matching your account name exactly, since mismatched names or expired IDs are among the top reasons candidates get turned away at check-in.
Your ID has to match your GED.com account name exactly, or the proctor won’t let you start.
What check-in actually involves
Arrive online 30 minutes before your slot and expect these steps:
- Uploading a photo of your ID for verification
- Taking a live selfie for facial comparison
- Panning your webcam around the room, desk, and under it
- Confirming no phones, papers, or extra screens are visible
Clear your space beforehand
Remove sticky notes, whiteboards, and family photos from view, since anything with writing can trigger a manual review. A clean desk and a locked door speed up check-in and get you into the actual exam faster.
Step 5. Take the test and handle proctor rules or disconnects
Once the proctor clears you, the exam starts like any computer-based GED test, except you’re now under continuous webcam watch for the full session. Stay in frame, keep your hands visible, and avoid talking to yourself out loud, since sudden movements or mumbling can prompt a warning. Breaks work differently here: most subjects don’t allow them, so use the restroom before you log in.
Staying visible and quiet in frame matters as much as knowing the content once the exam begins.
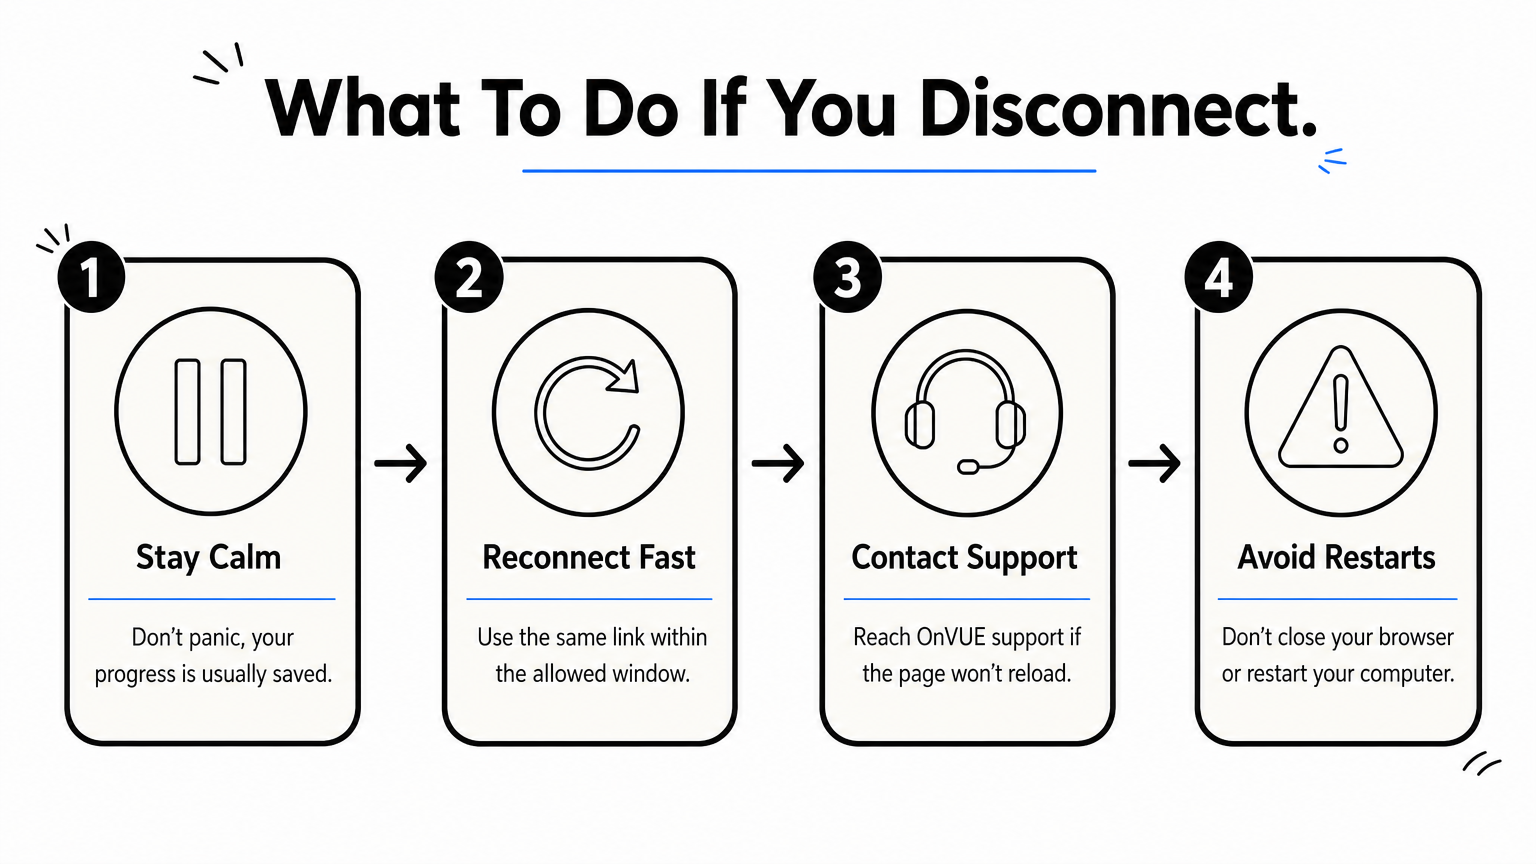
If your connection drops
A disconnect during testing isn’t automatic failure. OnVUE typically saves your progress, so:
- Reconnect through the same link within the allowed window
- Contact OnVUE support immediately if the page won’t reload
- Avoid closing your browser or restarting your computer unprompted
If the proctor flags something
A proctor might pause you to ask about a noise, a reflection, or a second person nearby. Answer calmly, adjust what they ask, and resume. Panicking or arguing wastes time you need for the actual questions.
Getting ready for test day
Passing the GED online proctored exam comes down to two things: a setup that meets every technical requirement, and content knowledge solid enough to survive a webcam watching your every move. You’ve now got the checklist, from confirming state eligibility to handling a mid-test disconnect, so the logistics shouldn’t surprise you anymore. The equipment side is manageable with a little preparation; the content side takes real study time.
Don’t walk into GED Ready hoping for green. Build that score with practice questions that explain why wrong answers are wrong, not just which choice is correct, so weak spots actually close instead of resurfacing on test day. That’s exactly what structured GED test prep should do for you: turn uncertainty into a plan.
If you’re ready to stop guessing and start scoring green, work through PrepNovat’s GED test prep course with free practice tests before you schedule your next attempt.

Natalie
StudyVault Team